Getting started with Zulip on DigitalOcean
 Trent Lapinski
Hosting Zulip on DigitalOcean is easy.
As an open source project, Zulip is committed to making it convenient for every organization to use Zulip. For those who cannot maintain their own server, we offer the convenient Zulip Cloud SaaS service. For organizations concerned about privacy, data control, and compliance, we do everything we can to make self-hosting Zulip convenient and painless.
That’s why we’ve teamed up with DigitalOcean to offer a one-click Zulip installer in the DigitalOcean Marketplace, making it even easier to self-host Zulip.
Instructions
- Signup for a DigitalOcean account and receive a $100, 60-day credit for new users.
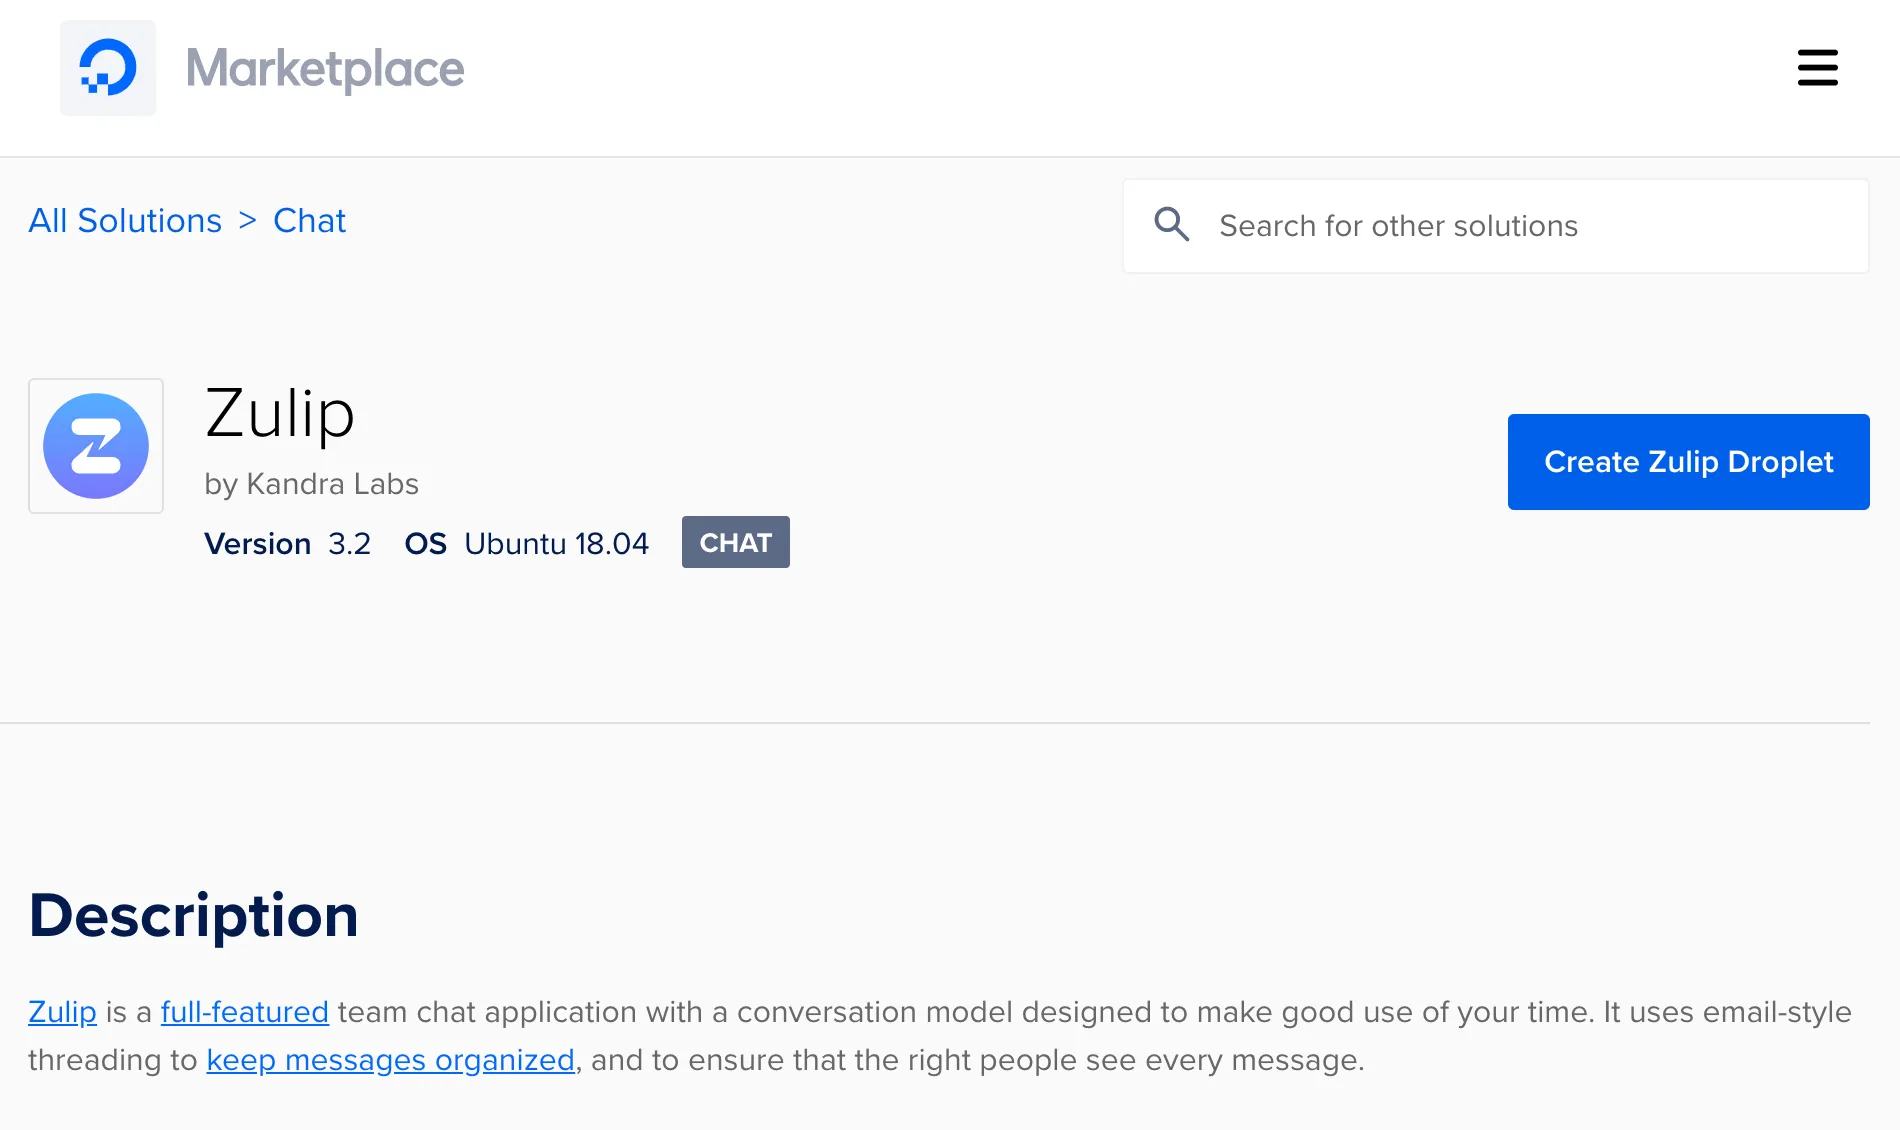
- You can find the Zulip application in DigitalOcean’s marketplace; to create a new Zulip server, just click the “Create Zulip Droplet” button, and choose a Droplet type (See Zulip’s scalability documentation for advice on sizing, remembering that you can upgrade to a larger Droplet if needed). Choose a datacenter close to your users and provide the SSH key you’ll use to log in. Click “Create Droplet” at the bottom, and DigitalOcean will do the rest!
- Before you can use your newly created Droplet, you’ll need to add a DNS record, which associates a hostname with your new Droplet. You can read more about configuring DNS with DigitalOcean if you need any tips.
- You should now be able to log in to your new Droplet via SSH as the
rootuser! It will automatically guide you through the short first-time configuration tool.
That’s it – your new Zulip chat server is now ready to use!
For a production server, we recommend reading our extensive documentation on configuring, upgrading, backups, monitoring, and more. With DigitalOcean’s installer, it’s easy to get afloat with Zulip Server.